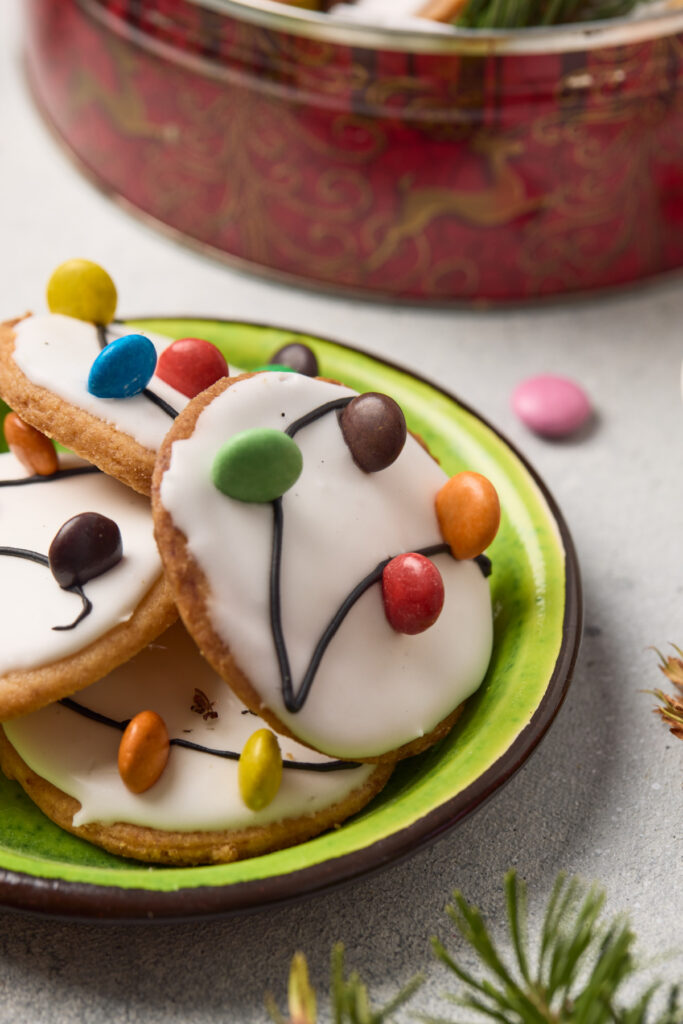
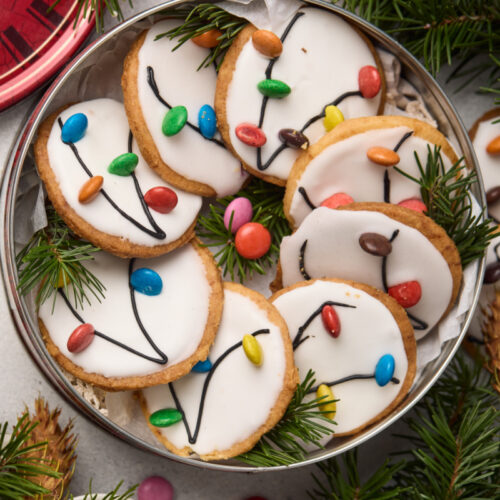
If you’re looking for a Christmas cookie that’s almost too cute to eat, these Christmas Lights Cookies are going to be a hit!
These adorable Christmas sugar cookies are decorated with white icing, colorful mini M&M’s, and little strings of Christmas lights made from black icing. They’re such a fun way to add a little holiday cheer to your cookie trays!

I love finding easy Christmas cookie decorating ideas that look impressive without requiring a ton of fancy decorating skills. These cookies are perfect for that! You don’t need to be an expert baker to make them, and they’re a fun project to do with the kids or grandkids during the holidays.
Whether you’re putting together a Christmas cookie platter, hosting a holiday baking party, or making homemade treats to give as gifts, these Christmas Lights Sugar Cookies are sure to bring a smile to everyone’s face.
Why You’ll Love These Christmas Lights Cookies
These decorated Christmas cookies are just as fun to make as they are to eat! The buttery sugar cookie base is simple and delicious, and the colorful candy decorations make them stand out on any holiday dessert table.
Here’s why you’ll want to add these to your Christmas baking list:
- Easy to Decorate: You don’t need complicated piping techniques or special decorating skills.
- Kid Friendly: Kids will love helping place the colorful candy Christmas lights on each cookie.
- Perfect for Gifting: These festive cookies make adorable homemade Christmas gifts.
- Make Ahead Friendly: You can bake the cookies ahead of time and decorate them later.
- Fun for Christmas Parties: They’re a colorful addition to holiday cookie exchanges and dessert trays.
And the best part? You can customize the colors of your Christmas lights however you like!
Ingredients You’ll Need
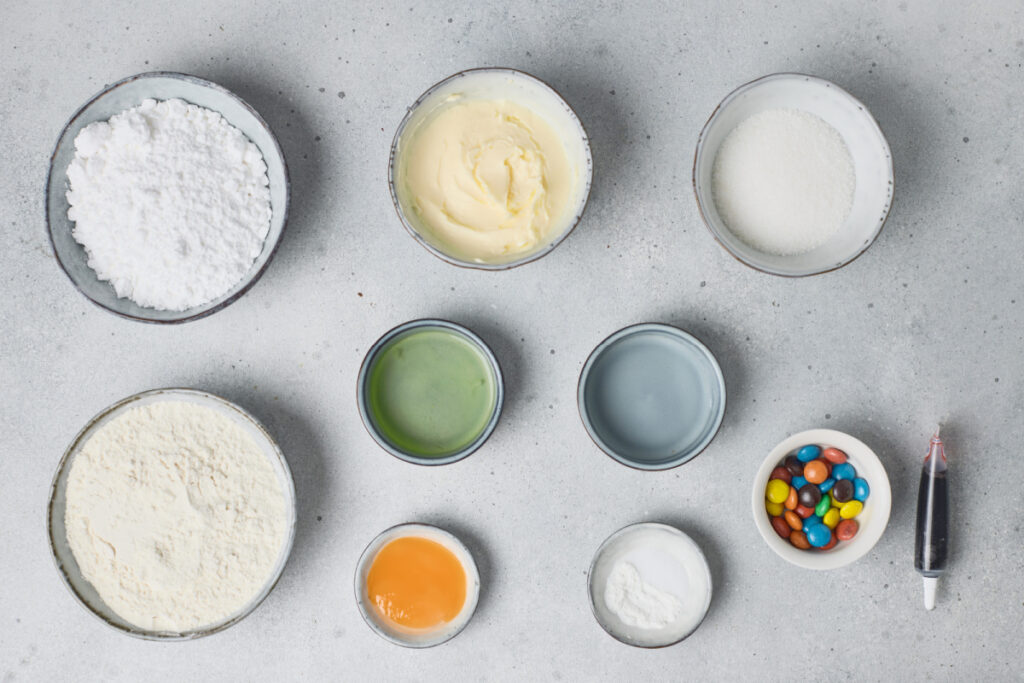
You only need a handful of simple baking ingredients and a few decorating supplies to make these festive Christmas Lights Cookies.
For the Sugar Cookies
- Unsalted Butter – Make sure your butter is softened to room temperature so it creams easily with the sugar.
- Granulated Sugar – Gives the cookies just the right amount of sweetness.
- Egg Yolk – Helps create a tender, rich cookie dough.
- Baking Powder – Gives the cookies a little lift while baking.
- All Purpose Flour – The base of these buttery Christmas sugar cookies.
- Fine Salt – Helps balance the sweetness and brings out the other flavors.
For the Icing and Decorations
- Powdered Sugar – Creates the smooth white icing that makes the colorful Christmas lights stand out.
- Egg White – Helps the icing set firmly. Use pasteurized egg white for icing that won’t be cooked.
- Water – Add just enough to create a thick, spreadable icing consistency.
- Black Decorating Icing – Used to create the wavy strings connecting your Christmas lights.
- Mini M&M’s – These colorful little candies make the perfect Christmas light bulbs.
The combination of buttery sugar cookies, sweet icing, and colorful candies makes these cookies as delicious as they are adorable!
How to Make Christmas Lights Cookies
Making these Christmas Lights Cookies is easier than you might think!
You’ll start with a simple homemade sugar cookie dough, bake the cookies until lightly golden, and then have fun decorating them to look like little strings of Christmas lights.
Step 1: Make the Sugar Cookie Dough
In a large mixing bowl, beat ½ cup softened unsalted butter and ⅓ cup granulated sugar together until light and fluffy.
Add 1 egg yolk and mix until completely combined.
Next, add 1¼ cups all purpose flour, ½ teaspoon baking powder, and a pinch of fine salt.
Mix gently until a soft dough forms. Be careful not to overmix.

Step 2: Chill the Dough
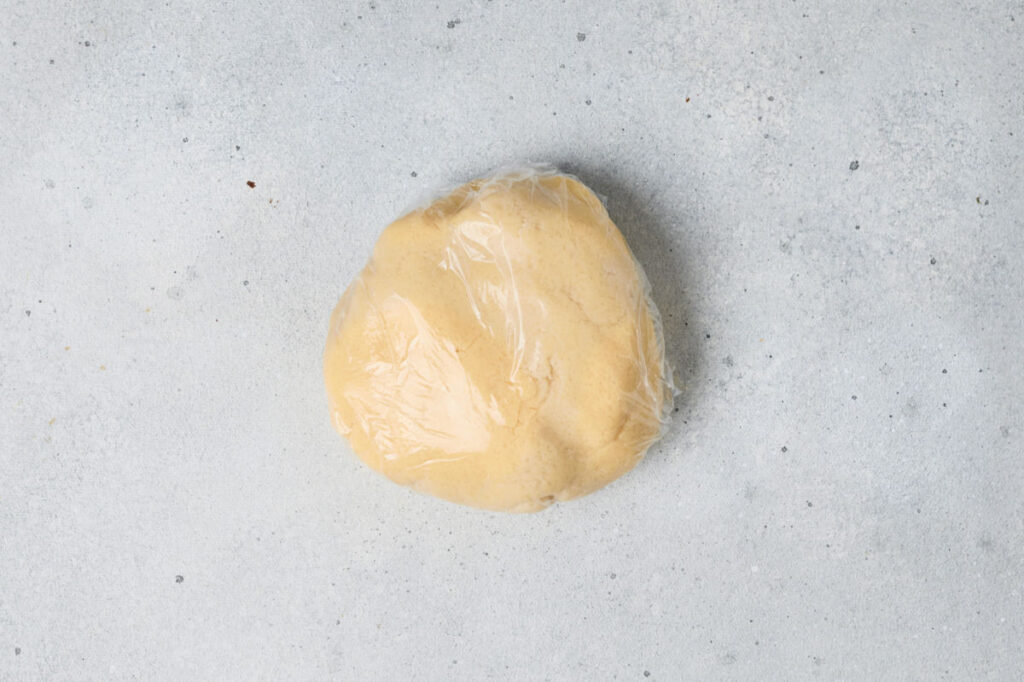
Wrap the cookie dough tightly in plastic wrap and place it in the refrigerator for 1 hour.
Chilling helps the dough firm up so it’s easier to roll out and cut into shapes.
Step 3: Roll and Cut the Cookies
Preheat your oven to 350°F and line a baking sheet with parchment paper.
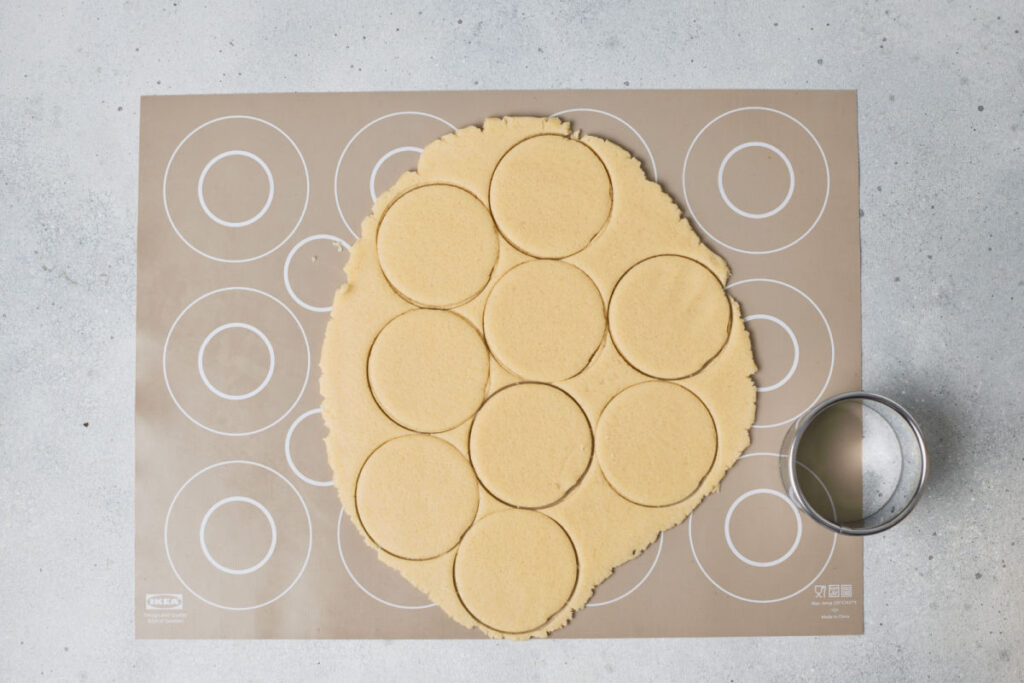
Remove the chilled dough from the refrigerator and roll it out on a lightly floured surface until it’s approximately ⅕ inch thick.
Use a round cookie cutter to cut out your cookies.
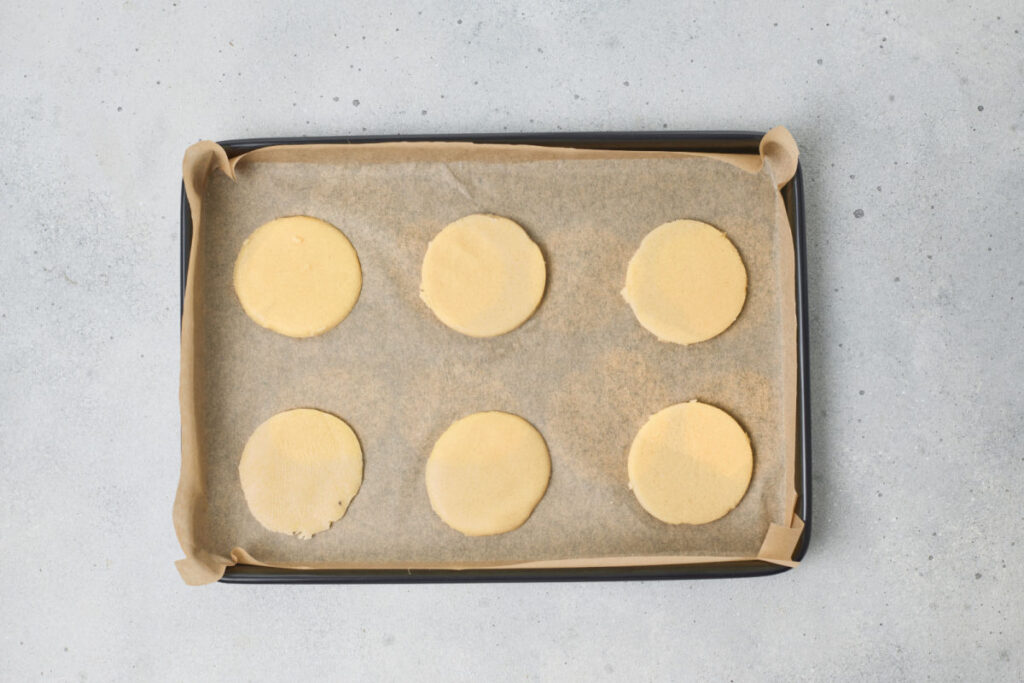
Place the cookies on the prepared baking sheet, leaving a little space between each one.
Step 4: Bake the Sugar Cookies
Bake the cookies in the preheated oven for 8 to 10 minutes, or until the edges are just beginning to turn lightly golden.
Remove from the oven and allow the cookies to cool completely before decorating.
It’s important that the cookies are completely cool so the icing doesn’t melt or run.
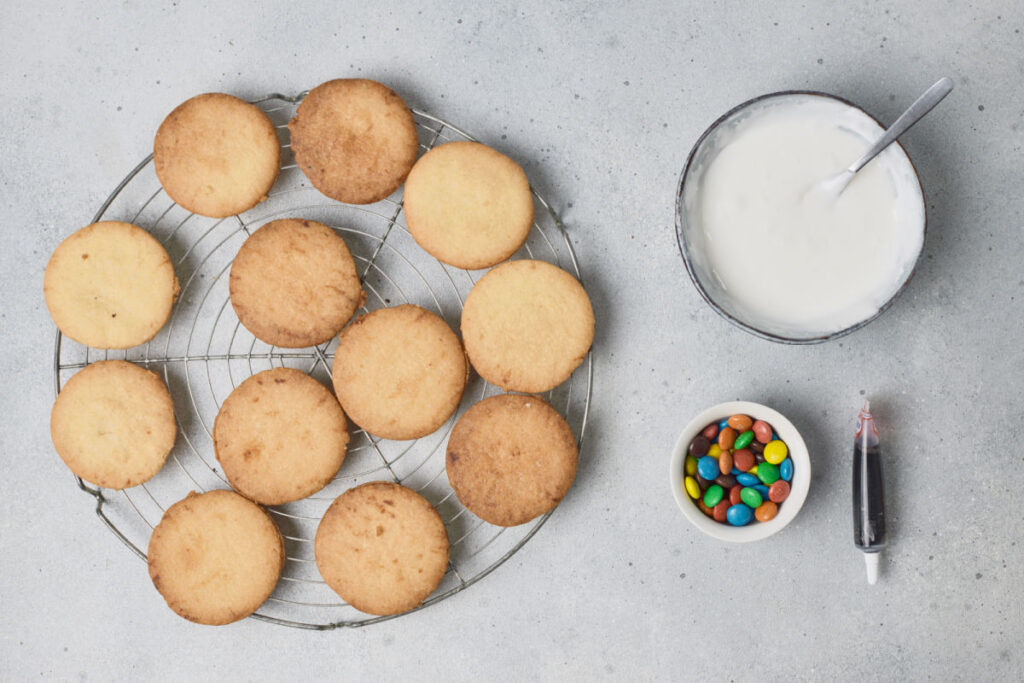
Step 5: Prepare the White Icing
In a medium mixing bowl, whisk together 1 cup powdered sugar and 1 pasteurized egg white.
Gradually add ½ to 1 tablespoon of water, a little at a time, until the icing reaches a thick but spreadable consistency.
You want the icing smooth enough to spread across the cookies without running over the edges.
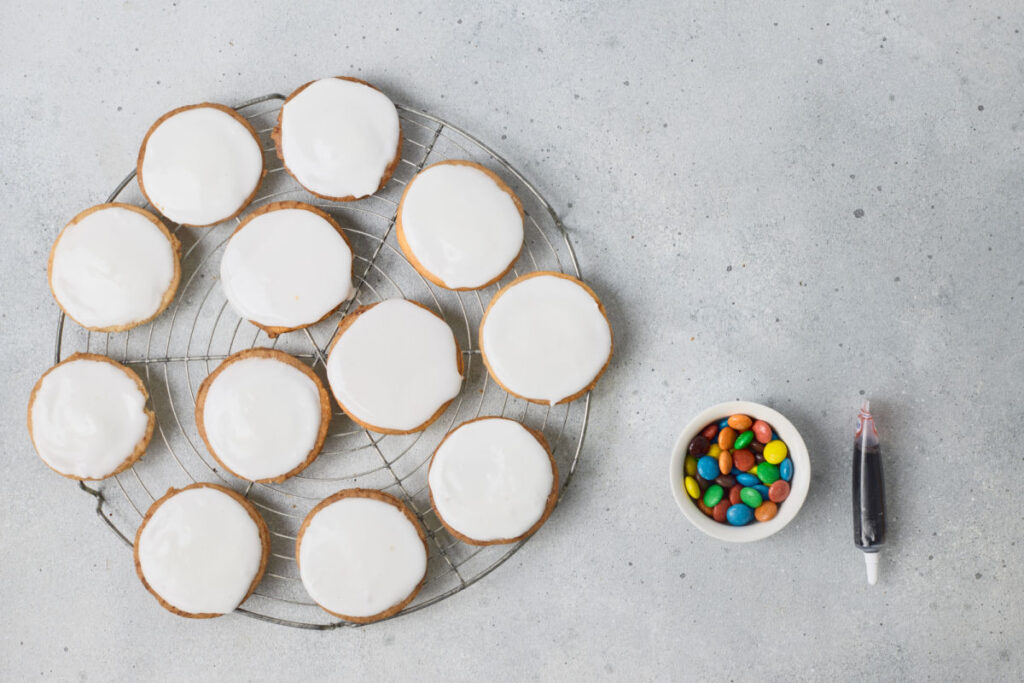
Step 6: Ice the Cookies
Using a small spoon or spatula, spread a thin, even layer of white icing over each cooled cookie.
Set the cookies aside and allow the white icing to dry completely before adding the decorations.
This step is important because the black decorating icing can bleed into the white icing if it hasn’t fully set.
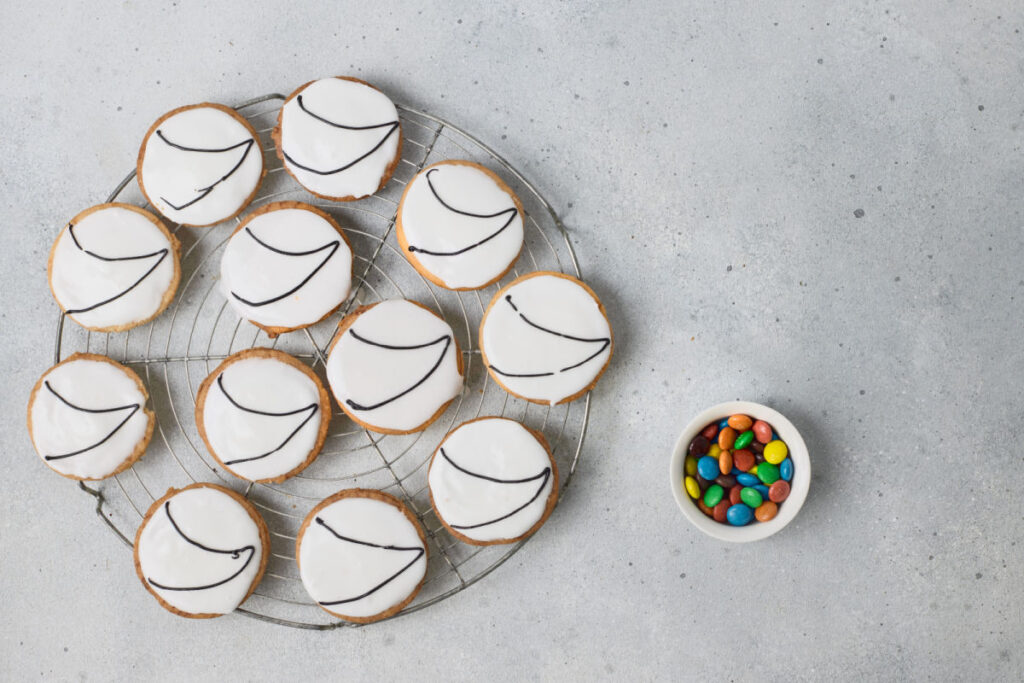
Step 7: Create the Christmas Light Strings
Once the white icing is completely dry, use black decorating icing to pipe a wavy line across each cookie.
The line doesn’t have to be perfectly straight. In fact, a few loops and curves make it look more like a real string of Christmas lights!
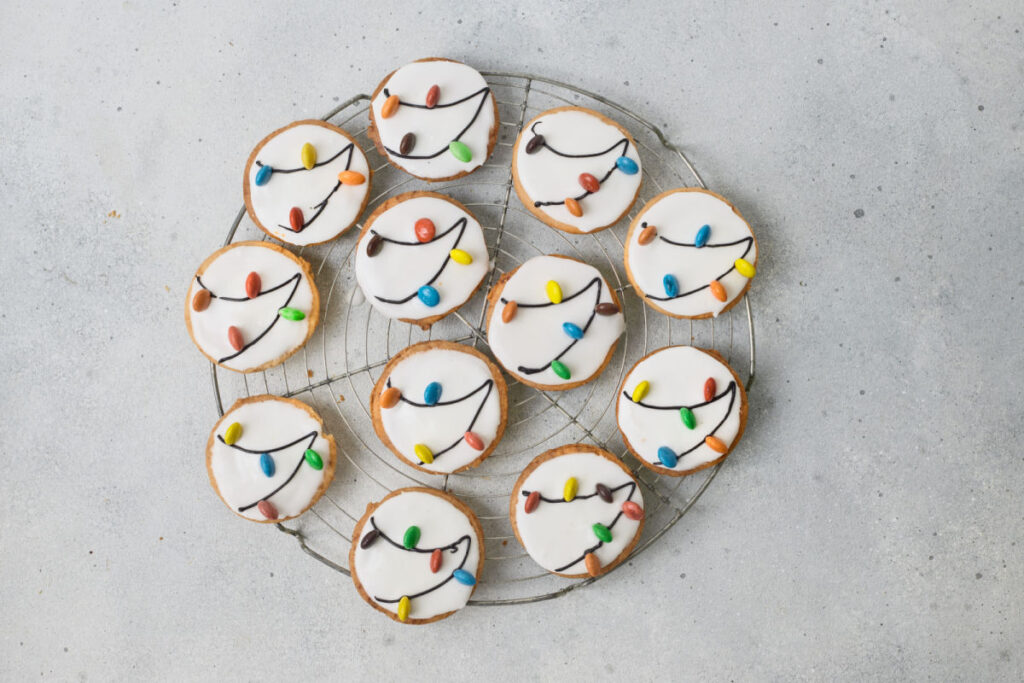
Step 8: Add the Colorful Christmas Lights
While the black icing is still soft, carefully press mini M&M’s along the line to create colorful Christmas light bulbs.
Position the candies so they stand up slightly, giving the lights a fun dimensional appearance.
Repeat with the remaining cookies.
Step 9: Let the Decorations Set
Allow the decorated cookies to sit until the icing has completely set.
Once dry, arrange them on a Christmas cookie platter or package them in festive treat bags for gifting.
Tips & Variations
These Christmas Lights Sugar Cookies are easy to customize, and a few simple tricks will help you get the best results every time.
- Let the Icing Dry Completely: Make sure the white icing is fully set before adding the black Christmas light strings to prevent the colors from bleeding together.
- Use Different Candy Colors: Choose red and green mini M&M’s for a traditional Christmas look or use all the colors for bright, cheerful lights.
- Try Different Cookie Shapes: Round cookies work beautifully, but you can also use Christmas trees, stars, or ornament shaped cookie cutters.
- Make the Cookies Ahead: Bake the cookies in advance and store them in an airtight container until you’re ready to decorate.
- Get the Kids Involved: Let little helpers arrange the candy lights while you handle the icing.
- Freeze Undecorated Cookies: Baked cookies without icing can be frozen for up to 2 months. Thaw completely before decorating.
- Store Properly: Keep finished cookies in a single layer in an airtight container at room temperature for up to 1 week.
Perfect For:
These adorable Christmas Lights Cookies are a fun addition to just about any holiday celebration!
- Christmas cookie exchanges
- Holiday baking parties
- Homemade Christmas gifts
- Classroom Christmas parties
- Christmas Eve dessert trays
- Holiday movie nights
- Baking with kids and grandkids
- Christmas dessert boards
They’re especially cute packaged in clear treat bags with a festive ribbon for an inexpensive homemade gift.
📸Don’t Forget the Photo Op!
These colorful little Christmas cookies are practically begging for a picture! Arrange them on a white serving platter or Christmas cookie tray so the colorful candy lights really stand out.
You could even place a real string of Christmas lights nearby for a fun holiday photo.
We’d love to see your Christmas Lights Cookies! Tag @BiteSizedFun or use #BiteSizedFun on Instagram so we can see your festive creations!
More Recipes You’ll Love
If you’re looking for more fun Christmas treats and easy holiday recipes, be sure to check out these favorites!
- Mini Pretzel Stick Reindeers – Adorable little reindeer treats made with pretzels, chocolate, and candy decorations.
- Cinnamon Roll Pretzels – Sweet and crunchy pretzels coated in cinnamon sugar and drizzled with white chocolate.
- Chocolate Caramel Pretzel Bark – A delicious combination of chocolate, caramel, and salty pretzels that’s perfect for holiday candy trays.
- Sweet Fun Confetti Dip – A creamy dessert dip you can customize with Christmas colored sprinkles.
These Christmas Lights Cookies are proof that you don’t need complicated decorating skills to make something special for the holidays.
They’re festive, fun to make, and guaranteed to brighten up any Christmas cookie tray!
One More Thing!
This recipe is part of our collection of easy Christmas desserts and holiday treats. Be sure to check out more of our fun, festive recipes for Christmas parties, cookie exchanges, and homemade gifts!
Christmas Lights Cookies
Ingredients
Cookies
- ½ cup butter softened
- ⅓ cup sugar
- 1 egg yolk
- ½ tsp baking powder
- 1 ¼ cups all-purpose flour
- 1 pinch fine salt
Icing & Decoration
- 1 cup powdered sugar
- 1 egg white
- ½-1 tbsp water as needed
- Black decorating icing
- Mini M&M’s or colorful candy-coated chocolates
Instructions
- Beat the softened butter and granulated sugar together until light and fluffy. Add the egg yolk and mix until fully combined.
- Add the all-purpose flour, baking powder, and salt. Mix gently just until a soft dough forms.
- Wrap the dough tightly in plastic wrap and chill in the refrigerator for 1 hour.
- Roll the chilled dough out to about ⅕-inch (5 mm) thickness. Cut into round circles using a cookie cutter.
- Bake at 350°F (180°C) for 8–10 minutes, until the edges are lightly golden. Allow the cookies to cool completely before decorating.
- Prepare White Icing: Whisk the powdered sugar with the egg white in a bowl. Gradually add a small splash of water until you reach a thick, spreadable consistency.
- Spread a thin, even layer of white icing over each cooled cookie and let it set completely.
- Pipe a wavy line across each cookie using black decorating icing to represent the Christmas light string. Press mini M&M’s along the black line, standing up slightly, to resemble colorful holiday bulbs. Let set before serving.
Notes
Storage: Store decorated cookies in a single layer in an airtight container at room temperature for up to 1 week.
• Freezer Prep: Undecorated baked cookies can be frozen for up to 2 months. Thaw completely at room temperature before icing.


